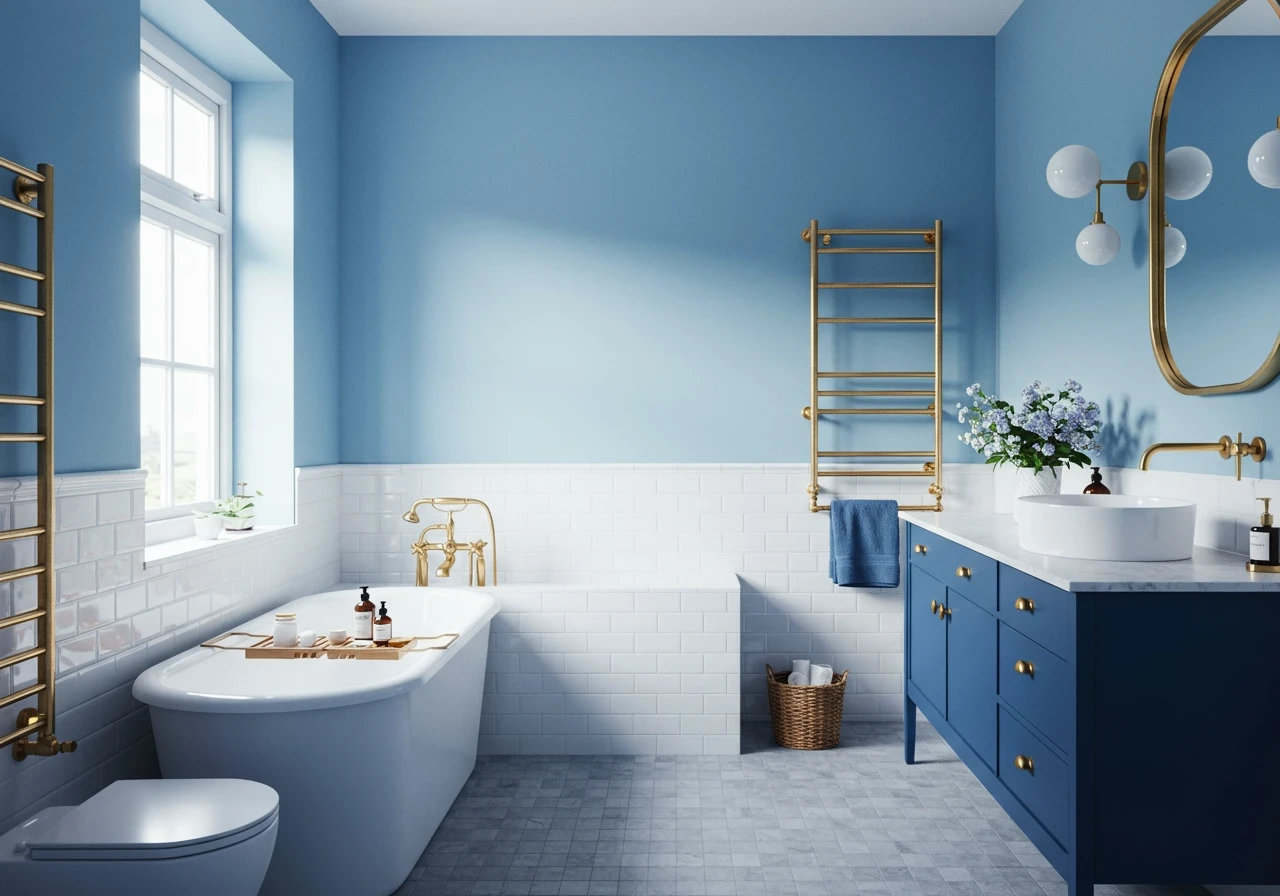
Does your bathroom feel more like a chaotic closet than a calming oasis? You’re not alone. We often close the door on bathroom clutter and grime, but tackling it is easier than you think. This guide will turn you into a bathroom-cleaning champion, using a simple, step-by-step method that works every time. Forget overwhelming chores; we’re going to conquer the mess efficiently, leaving you with a sparkling, hygienic space that feels less like a task list and more like a personal spa. A clean bathroom isn’t just about looks; it’s the foundation for creating a truly relaxing retreat, whether you’re dreaming of a farmhouse bathroom decor vibe or a sleek, modern look.
What You’ll Need: Your Bathroom Cleaning Toolkit
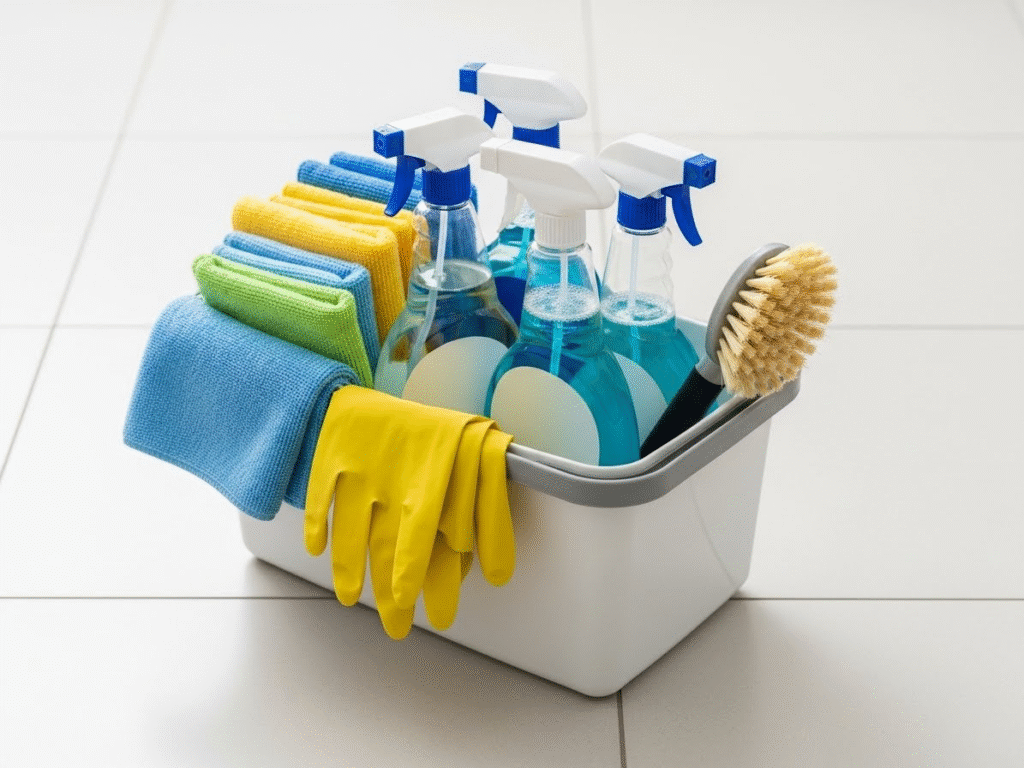
Before you dive in, gathering your supplies will save you from running back and forth. Think of this as your mission prep! You don’t need a hundred different products; a few key players will do the trick.
Cleaning Agents:
- All-Purpose Cleaner: Your go-to for countertops, the outside of the toilet, and cabinet doors.
- Glass Cleaner: For a streak-free shine on mirrors and chrome fixtures.
- Tub and Tile Cleaner: Specifically formulated to cut through soap scum and water stains.
- Toilet Bowl Cleaner: A dedicated cleaner with a specialized spout makes this job much easier.
- Floor Cleaner: Choose one that is safe for your specific floor type (tile, vinyl, etc.).
- Baking Soda & White Vinegar: The dynamic duo for DIY cleaning, great for drains and tough stains.
Essential Tools:
- Microfiber Cloths (at least 4-5): They trap dust and absorb liquids without leaving lint behind. Designate colors for different jobs (e.g., blue for mirrors, yellow for surfaces, pink for the toilet) to prevent cross-contamination.
- Scrub Brush or Non-Scratch Sponge: For tackling grout, soap scum, and stubborn spots.
- Toilet Brush & Holder: A bathroom necessity.
- Rubber Gloves: Protect your hands from grime and cleaning agents.
- Squeegee: The secret weapon for streak-free shower doors and mirrors.
- Mop & Bucket or a Spray Mop: For the final floor cleaning.
DIY vs. Store-Bought Cleaners: A Quick Comparison
Wondering whether to mix your own solutions or buy them off the shelf? Here’s a simple breakdown:
| Feature | DIY Cleaners (Vinegar, Baking Soda) | Store-Bought Cleaners |
| Cost | Very low | Low to moderate |
| Effectiveness | Great for general cleaning and deodorizing. May require more elbow grease on tough stains. | Formulated for specific tasks (e.g., soap scum, hard water) and often work faster. |
| Scent | Natural (vinegar scent dissipates) | Wide variety of scents available |
| Pros | Eco-friendly, non-toxic, inexpensive. | Convenient, powerful, specialized formulas. |
| Cons | Can damage certain natural stones like black granite countertops or marble. Requires mixing. | Can contain harsh chemicals. |
| Best For | Regular maintenance, homes with sensitivities, and budget-conscious cleaning. | Deep cleaning, tackling tough soap scum, hard water stains, and disinfection. |
The Game Plan: A Step-by-Step Guide to a Sparkling Bathroom
The secret to efficient cleaning is working in the right order. We’ll follow a top-to-bottom, dry-to-wet method. This ensures you’re not knocking dust onto surfaces you’ve already cleaned!
Step 1: The Prep Work (The 5-Minute Tidy-Up)
This first step is the most important for a smooth process. You can’t clean clutter.
- Clear All Surfaces: Remove everything from the countertops, the top of the toilet tank, the shower, and the floor. This includes toothbrushes, soap, shampoo bottles, bathmats, and wastebaskets.
- Toss or Tidy: Throw away any empty bottles or trash. Place items you’re keeping just outside the bathroom door.
- Shake and Remove Linens: Take bathmats, rugs, and towels outside and give them a good shake to remove dust and hair. Start a load of laundry with them if they need washing.
Why this works: By clearing the space first, you create a blank canvas. This allows you to clean every surface thoroughly without having to stop and move things around. It’s the difference between wiping around a lotion bottle and wiping the entire counter.
Step 2: Apply Cleaners & Let Them Dwell
Now it’s time to let your cleaning products do the heavy lifting for you. This is a pro-level trick called “dwell time.”
- Spray the Shower and Tub: Generously spray your tub and tile cleaner on the shower walls, fixtures, and tub. Make sure to get it into the corners where mildew loves to hide.
- Clean the Toilet Bowl: Squirt your toilet bowl cleaner under the rim of the bowl, allowing it to coat the entire surface as it runs down.
- Dust High to Low: While the cleaners are working their magic, use a dry microfiber cloth to dust everything from the top down. Start with light fixtures, the tops of cabinets, and the exhaust fan vent. Then, wipe down shelves and window sills.
Why this works: Giving your cleaners 5-10 minutes to sit allows the active ingredients to break down soap scum, grime, and bacteria. This means you’ll be wiping away messes instead of scrubbing them furiously. You’ll save time and a ton of energy! While they work, you can complete your dry-cleaning tasks, making the process incredibly efficient.
Step 3: Tackle Mirrors, Counters, and the Sink
With your other cleaners still working their magic, it’s time to focus on the vanity area.
- Wipe the Mirror: Lightly spray your glass cleaner directly onto a clean, dry microfiber cloth (not the mirror itself—this prevents drips). Wipe the mirror from top to bottom in an “S” pattern to avoid streaks. Use a dry part of the cloth to buff out any remaining spots.
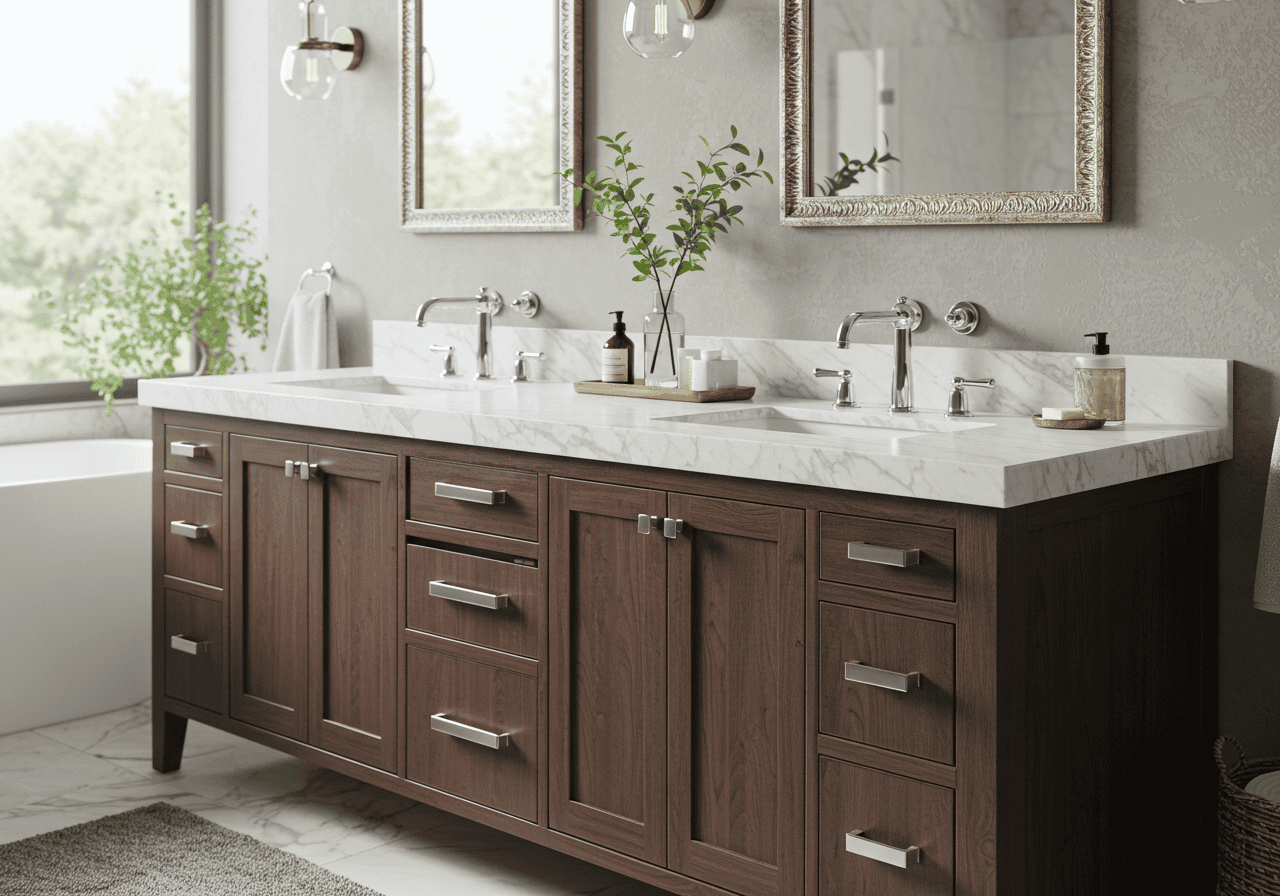
- Clean the Countertops: Spray your all-purpose cleaner on the countertops and wipe them down with a fresh microfiber cloth. Pay special attention to the area around the sink faucet, where gunk loves to accumulate. A quick note: If you have natural stone like marble or certain types of blue granite countertops, avoid acidic cleaners like vinegar. Stick to a pH-neutral or stone-safe cleaner.
- Scrub the Sink: Spray the sink basin with the all-purpose cleaner. Use your non-scratch sponge to scrub away toothpaste residue and grime. Don’t forget the faucet handles and spout! Rinse thoroughly with water and wipe dry with a cloth for a beautiful shine.
Expert Design Tip: A clutter-free countertop is the #1 rule for a high-end, spa-like bathroom. Use trays, canisters, or a medicine cabinet to store daily items. Leaving only a beautiful soap dispenser and perhaps a small plant on the counter instantly elevates the space, whether your style is minimalist or leans toward more fun bathroom ideas.
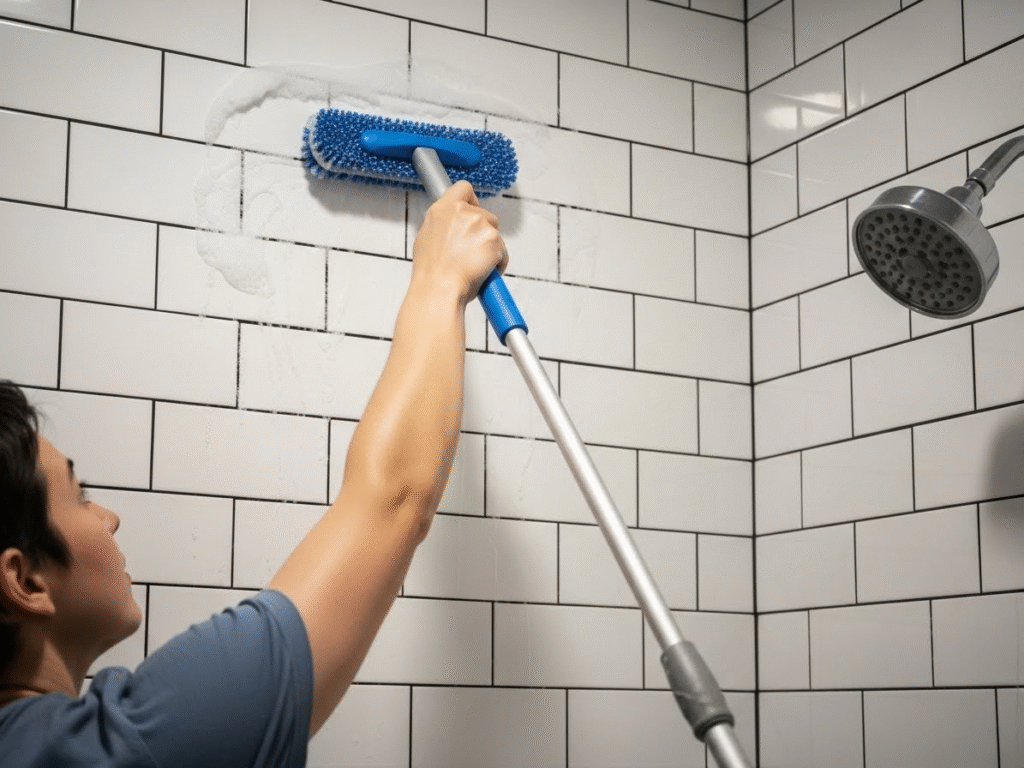
Step 4: Conquer the Shower and Tub
Now that your tub and tile cleaner has had time to dissolve the grime, the hard work is already done.
- Scrub Down the Walls: Starting from the top, use your scrub brush or sponge to wipe down the shower walls. The soap scum and water spots should come off with minimal effort. Pay extra attention to grout lines and corners.
- Clean the Fixtures: Wipe down the shower head and faucet handles. For stubborn hard water stains on the shower head, you can tie a plastic bag filled with white vinegar around it and let it soak for an hour before scrubbing.
- Rinse and Squeegee: Rinse all the surfaces thoroughly with water. If you have a glass shower door, now is the time to use your squeegee. A quick squeegee after every shower is the best way to prevent soap scum buildup.
Step 5: The Final Toilet Takedown
Let’s finish the job we started. This is a two-part process: inside and out.
- Scrub the Bowl: Grab your toilet brush and give the inside of the bowl a thorough scrub, especially under the rim where you first applied the cleaner. Once you’re done, flush the toilet.
- Wipe the Exterior: Important: Use a separate, designated cloth for the outside of the toilet. Spray your all-purpose cleaner on the cloth and wipe down the tank, lid, seat (both sides!), and the entire base of the toilet all the way to the floor. The hinges connecting the seat are a notorious spot for grime, so don’t miss them!
Step 6: Finish with the Floor
The final step! Cleaning the floor last ensures you catch all the dust and drips from the previous steps.
- Sweep or Vacuum First: Remove all loose hair, dust, and debris. A vacuum with a hose attachment is great for getting into tight corners behind the toilet.
- Mop Your Way Out: Using your floor cleaner, start mopping in the corner farthest from the door and work your way backward. This way, you won’t step on your freshly cleaned floor. Let it air dry completely.
Once the floor is dry, you can bring your clean bathmats and wastebasket back in, and neatly rearrange your items on the counter. And you’re done!
Common Bathroom Cleaning Mistakes to Avoid
Even seasoned cleaners can make a misstep. Here are a few common mistakes and how to steer clear of them.
- Mixing Cleaning Chemicals: This is the most dangerous mistake. Never, ever mix bleach with ammonia-based cleaners: This combination creates toxic chloramine gas. Stick to using one product at a time as directed.
- Using the Wrong Cleaner for the Surface: An abrasive cleaner can scratch acrylic tubs and chrome fixtures. Acidic cleaners can etch natural stone. Always read the label on your product and, if unsure, test it on a small, inconspicuous area first. This is crucial for maintaining specialty surfaces you might find in a custom bathroom remodel.
- Forgetting to Clean the Exhaust Fan: That fuzzy vent cover isn’t just an eyesore; a clogged fan can’t properly remove moisture, which leads to mildew and odors. Use your vacuum’s brush attachment to clean it monthly.
- Using One Rag for Everything: Wiping the countertop with the same cloth you used on the toilet is a recipe for spreading germs. Use the color-coded cloth system mentioned earlier to keep things hygienic.
Frequently Asked Questions (FAQs)
1. How often should I deep clean my bathroom?
A full deep clean like this is recommended every 2-4 weeks. For weekly maintenance, focus on high-traffic areas: wipe the sink and counter, swish the toilet bowl, and give the mirror a quick clean.
2. What’s the best way to get rid of pink mold in the shower?
That pink/orange slime is a common airborne bacteria called Serratia marcescens. Make a paste of baking soda and a few drops of dish soap. Scrub it on the affected area, let it sit for 10 minutes, and then rinse thoroughly.
3. How can I keep my glass shower doors from getting cloudy?
Prevention is key! Use a squeegee to wipe down the doors after every single shower. It takes 30 seconds and makes a massive difference. You can also use a daily shower spray that helps repel water and soap scum.
4. My bathroom still smells a little funky after cleaning. What gives?
First, check your towels—damp towels can quickly develop a musty smell. Second, pour a solution of equal parts white vinegar and hot water down the sink drain to clear out any gunk. Finally, ensure your exhaust fan is working correctly to pull moisture out of the room.
5. How do I get my tile grout white again?
For stubborn grout stains, an old toothbrush and a paste made of baking soda and water (or hydrogen peroxide for tougher stains) works wonders. Apply the paste, let it sit for 15-20 minutes, scrub, and rinse.
Your Quick Bathroom Cleaning Checklist
For a quick refresh, follow these steps:
- Declutter: Remove all items from surfaces and floors.
- Apply & Dwell: Spray shower/tub and apply toilet bowl cleaner.
- Dust High to Low: Dust light fixtures, vents, and shelves.
- Wipe Surfaces: Clean mirror, countertops, and sink.
- Scrub: Tackle the shower, tub, and toilet bowl.
- Wipe Exterior: Clean the outside of the toilet.
- Floors Last: Sweep or vacuum, then mop.
- Finishing Touches: Replace linens and toiletries neatly.