Is there anything more heartwarming than walking into a room and being greeted by the smiling faces of your loved ones? Your home is a canvas, and your family’s journey is the most beautiful art you possess. Forget dusty albums tucked away; it’s time to transform your walls into vibrant, living testaments of joy, laughter, and precious milestones!
We’ve scoured the most creative corners of home decor to bring you 21 inspired ways to display your family photos, turning bare walls into cherished memory lanes. Get ready to personalize your space like never before, adding warmth, character, and a daily dose of happiness!
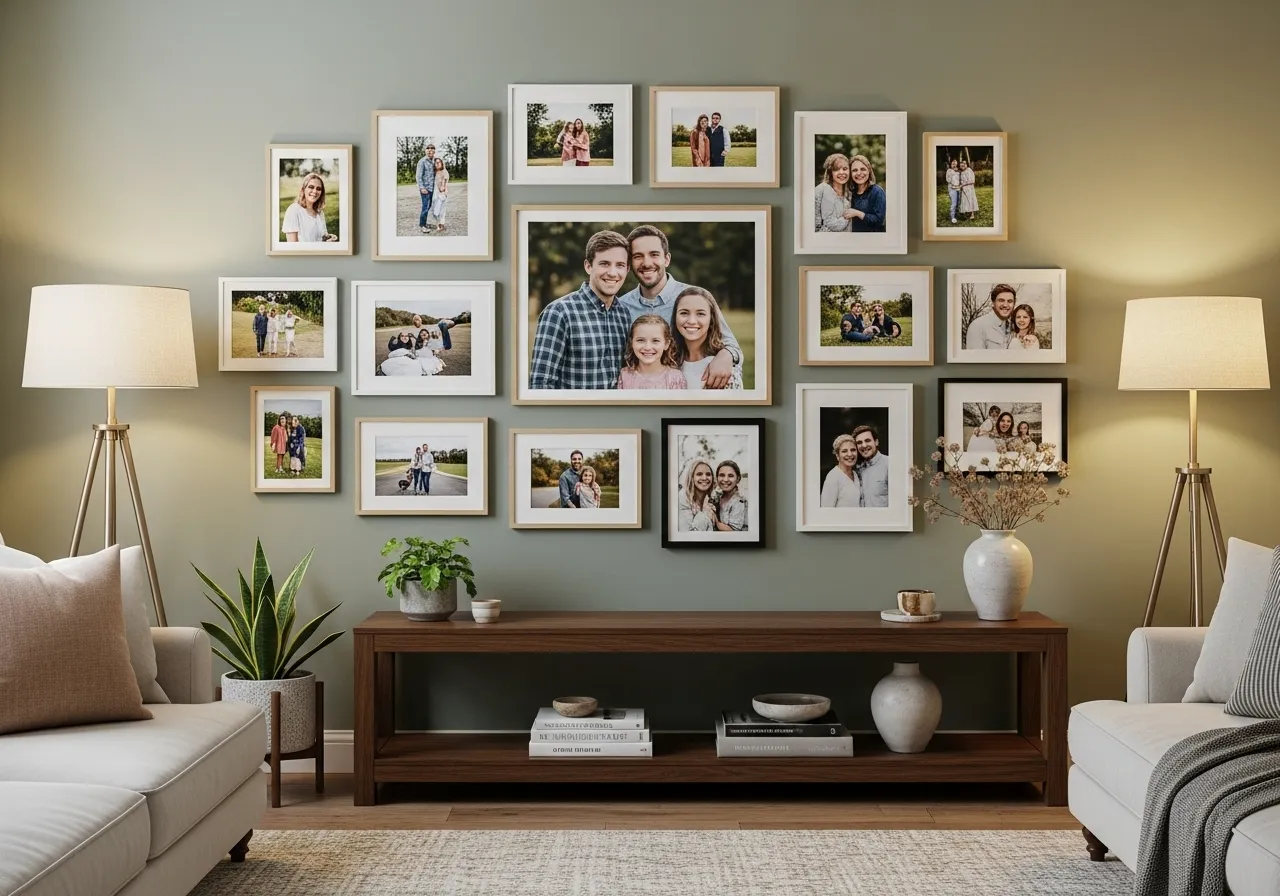
1. The Classic Gallery Wall Extravaganza
This timeless approach lets you tell a rich, evolving story with a collection of images. It’s wonderfully versatile and can adapt to almost any room.
- Mix and Match: Don’t be afraid to combine different frame styles, sizes, and colors. A mix of classic black, elegant gold, and rustic wood frames can add depth and interest.
- Theme It Up: Consider grouping photos by a specific event (a wedding, a vacation) or by a color palette (all black and white, or photos with similar dominant colors).
- Balance is Key: Lay out your arrangement on the floor first. Aim for a pleasing visual balance, ensuring no single area feels too heavy or sparse. Start with a central piece and build outwards.

2. The Modern Grid: Sleek Symmetry
For those who love clean lines and a contemporary aesthetic, a symmetrical photo grid is pure perfection. It offers a sophisticated way to display multiple images without clutter.
- Uniformity is Your Friend: Choose identical frames in terms of size, color, and matting. Black, white, or slim metallic frames work beautifully for this look.
- Precise Spacing: Measure the distance between each frame meticulously to ensure perfect alignment. Even spacing is crucial for achieving that crisp, modern feel.
- Consider a Theme: While uniformity is visual, the photos themselves can tell a cohesive story – perhaps a series of candid shots, or portraits taken during the same period. This approach is fantastic for spaces aiming for a https://betternestify.com/minimalistic-interior-design/ look.

3. Staircase Storyline: A Journey Up the Wall
Your staircase is often a forgotten canvas! Transform this transitional space into a captivating chronological journey or a visual narrative of your family’s growth.
- Follow the Angle: Arrange photos to follow the incline of your stairs. This creates a dynamic flow that guides the eye upwards.
- Chronological Order: Displaying photos from earliest memories at the bottom to more recent ones at the top creates a lovely sense of a journey through time.
- Varying Heights: Don’t be afraid to place photos at different eye levels, considering people walking both up and down the stairs. Ensure the center of most frames is at an comfortable viewing height.

4. Floating Shelves Showcase: Dynamic & Flexible
Floating shelves offer incredible versatility, allowing you to display framed photos alongside other decor items and easily refresh your display whenever the mood strikes.
- Layer Up: Lean framed photos against the wall on the shelves, varying their heights and overlapping slightly for a relaxed, artistic look.
- Accessorize: Intersperse your photos with small plants, decorative objects, books, or candles to add texture and interest.
- Easy Updates: The beauty of shelves is that you can swap out photos or rearrange items without putting new holes in your walls. Perfect for keeping your decor fresh.

5. Large-Scale Statement Piece: One Epic Moment
Sometimes, one powerful image is all you need to make a massive impact. Choose a cherished family photo and have it professionally enlarged to become the focal point of a room.
- High-Quality Image: This idea works best with a high-resolution photograph to ensure clarity and detail when scaled up.
- Prime Location: Place your large statement piece in a prominent spot, such as above a sofa, a bed, or a dining table, where it can command attention.
- Minimalist Framing: Opt for a simple, elegant frame or a sleek canvas print to let the photo itself be the star. The goal is to celebrate the moment, not distract from it.

6. The Photo Ledge Line-Up: Effortless Chic
Photo ledges are a brilliant alternative to traditional hanging, offering a dynamic and easy-to-update display. They are thinner than floating shelves and specifically designed for leaning frames.
- Layer and Lean: Place frames of varying sizes and orientations, leaning them against the wall and even layering them slightly for an artful, relaxed vibe.
- Mix in Small Treasures: While primarily for photos, you can tuck in a tiny figurine, a small vase, or a sentimental trinket to add personality.
- Change with the Seasons: The beauty of a photo ledge is its flexibility. Easily swap out photos for new memories or seasonal themes without patching holes.

7. Circular Gallery: A Harmonious Hub
Break away from traditional straight lines with a visually appealing circular arrangement. This unique layout draws the eye inward, creating a focal point that feels harmonious and complete.
- Central Anchor: Start with a central photo, perhaps a larger family portrait, and then arrange smaller photos in a radiating pattern around it.
- Consistent Spacing: While the frames themselves can vary, try to maintain relatively consistent spacing between them to enhance the circular flow.
- Theme by Color or Era: A circular gallery looks particularly striking with photos that share a common theme, like all black and white, or photos from a specific family milestone year.

8. Accent Wall Spotlight: Pop with Color
Let your family photos truly pop by placing them on a specially chosen accent wall. A contrasting color or a subtle patterned wallpaper can dramatically enhance their visual impact.
- Bold Backdrop: Choose a rich, inviting color for your accent wall – perhaps a deep navy, forest green, or a warm terracotta – that complements your decor.
- Framing Choices: Select frames that either blend with the wall color for a subtle look or sharply contrast for maximum visibility. White frames on a dark wall, or vice-versa, are stunning.
- Create a Cluster: Instead of spreading photos too thin, create a dense cluster or a gallery wall effect on the accent wall to amplify its presence.

9. Wire Grid or Clip Board Display: Industrial Chic
For a casual, contemporary, and easily changeable display, embrace the charm of a wire grid panel or a collection of rustic clipboards. This look is perfect for a home office, a teen’s room, or a casual family space.
- Mix and Match: Use small clothes pegs to attach unframed photos, postcards, ticket stubs, and even small mementos to a wire grid.
- Varying Textures: If using clipboards, choose different sizes and materials (wood, metal, acrylic) for an eclectic feel.
- Effortless Updates: The beauty of this method is the ability to swap out images in seconds, keeping your display fresh and current with new memories.

10. Custom Word Art with Integrated Photos: Speak Volumes
Combine the power of words with the emotion of images by creating custom wall art that features significant family words or names, with photos embedded within or around them.
- Meaningful Phrases: Think of words like “Family,” “Love,” “Home,” or your family name. You can use large wooden letters, vinyl decals, or stenciled paint.
- Strategic Placement: Arrange framed or unframed photos so they interact with the letters, perhaps filling the space inside a letter, or surrounding a key word.
- Personalized Touch: This approach makes your wall decor deeply personal and visually striking, transforming a simple display into a cherished statement piece.

11. Mirrored Frame Display: Reflective Memories
Incorporate mirrors into your family photo wall to add depth, light, and an unexpected touch of sophistication. Mirrors reflect the room, making a space feel larger and brighter, while also highlighting your cherished photos.
- Interspersed Reflections: Alternate framed photos with framed mirrors of similar sizes and styles within a gallery wall arrangement.
- Vary Shapes: Play with round, square, and rectangular mirrors among your photos for visual interest.
- Strategic Placement: Position this wall where the mirrors can reflect natural light or a beautiful part of your room, enhancing the overall ambiance.

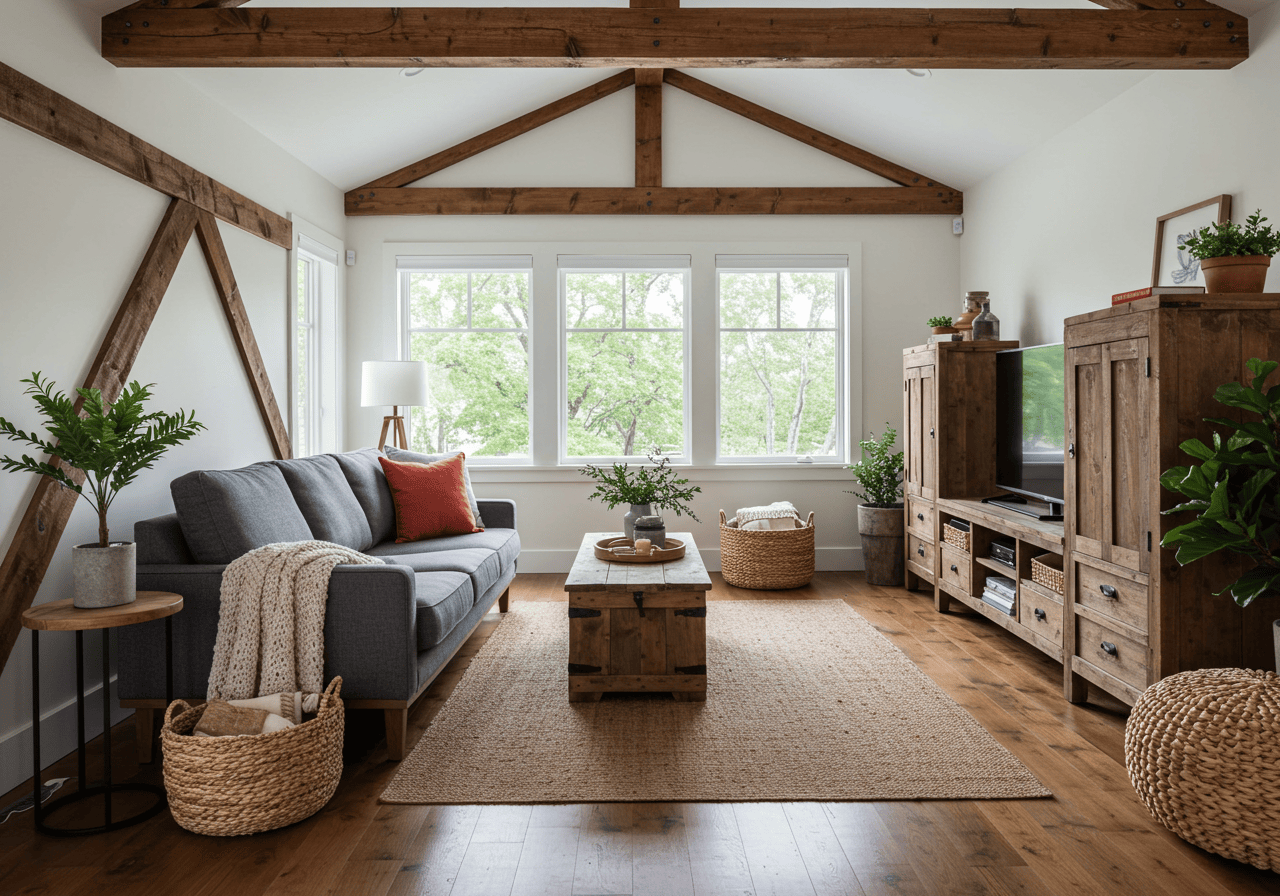
12. Corner Conversation Starters: Maximize Overlooked Space
Don’t let corners go to waste! Turn an often-ignored corner into an intimate display area for family photos. This can add an element of surprise and warmth to your room.
- Wrap Around Effect: Arrange photos on both walls of the corner, creating a continuous flow that draws the eye in.
- Tiered Display: Use corner shelves to create a tiered display of photos and small decorative items.
- Cozy Nook: Enhance the corner with a small accent chair or a floor lamp to create a cozy, inviting spot for viewing.

13. Digital Frame Cluster: Modern & Ever-Changing
Embrace technology by creating a cluster of digital photo frames. This allows for an ever-changing display of hundreds of memories, keeping your walls constantly fresh and engaging.
- Sync and Stream: Load multiple digital frames with different photo albums or link them to a shared cloud album for synchronized updates.
- Vary Sizes: Use a mix of digital frame sizes for a dynamic look, arranging them like a traditional gallery wall.
- Subtle Blending: Frame your digital screens with custom bezels or choose frames that complement your existing decor to integrate them seamlessly.

14. Family Timeline Wall: A Walk Down Memory Lane
Create a narrative on your wall by arranging photos in a chronological timeline. This is a powerful way to visualize your family’s history and growth, perfect for a hallway or a long wall.
- Year Markers: Add small labels or vinyl decals indicating years or significant milestones alongside the photos.
- Consistent Flow: Maintain a clear direction, either horizontally or vertically, to guide the viewer through the timeline.
- Mix Media: Include drawings from children at different ages, school achievements, or other small artifacts to enrich the story.

15. Black and White Elegance: Timeless Appeal
For a sophisticated and cohesive look, convert all your chosen family photos to black and white. This instantly unifies diverse images and adds a classic, artistic touch to your decor.
- Classic Framing: Black and white photos look stunning in simple black, white, or silver frames. Wood frames can also add a touch of warmth while maintaining elegance.
- Focus on Emotion: Without color, the viewer’s eye is drawn to the expressions, textures, and compositions of the photos, enhancing their emotional impact.
- Mix Old and New: This theme is perfect for blending historical family photos with contemporary shots, creating a seamless bridge across generations.

16. Color-Coordinated Frames: A Pop of Personality
Inject personality and vibrancy into your photo wall by selecting frames in a consistent color or a harmonious color palette that complements your room’s decor.
- Bold Statement: Choose a single vibrant color for all your frames, like a sunny yellow, a calming teal, or a striking red, to create a cheerful focal point.
- Gradient Effect: Arrange frames in a subtle gradient of colors, moving from light to dark or across a complementary color spectrum.
- Match Room Accents: Tie the photo wall into the room’s design by matching frame colors to throw pillows, rugs, or other decor elements.

17. Travel Map with Family Photos: Adventurous Memories
Combine your love for family and travel by integrating photos onto or around a large world map. This is a wonderful way to commemorate family adventures and dreams.
- Pinpoint Locations: Use pins or small photo clips to attach photos to the specific locations on the map where those memories were made.
- Large Wall Map: Choose an attractive, perhaps vintage-style, wall map as your backdrop.
- Beyond Destinations: Include photos from “dream destinations” or places you hope to visit as a family, making it an evolving inspiration board.

18. Photo Blocks or Wood Prints: Modern Tactile Display
For a contemporary and frameless look, consider displaying your family photos as photo blocks or direct prints on wood. These offer a tactile, sculptural quality to your wall art.
- Galleried Look: Arrange a series of photo blocks of different sizes in a gallery-style layout on a wall.
- Rustic Charm: Wood prints naturally add a warm, organic, and slightly rustic feel, with the wood grain often showing through the image.
- No Glare: Without glass, these displays are glare-free, allowing for clear viewing from any angle.

19. Above the Doorway Gallery: Utilize Vertical Space
Often overlooked, the space above doorways can be a fantastic canvas for a mini-gallery of family photos, especially in smaller homes or apartments.
- Consistent Height: Align the tops or bottoms of the frames to create a clean, intentional line above the doorframe.
- Small to Medium Frames: This area is generally better suited for smaller to medium-sized frames to avoid overwhelming the space.
- Unexpected Delight: It’s an unexpected spot that adds character and personal touches to transitional areas.

20. Kids’ Art Wall with Photos: Celebrate Creativity
Integrate your children’s artwork directly with family photos to create a vibrant, joyful wall that celebrates both their creativity and your shared memories.
- Alternating Displays: Frame some of their favorite drawings and alternate them with family photos in a gallery wall.
- Clipboard Integration: Use clipboards to display their rotating masterpieces alongside photos, making changes simple.
- A “Family Creations” Wall: Dedicate a specific wall where everyone’s creative expressions, including photos, can coexist harmoniously.

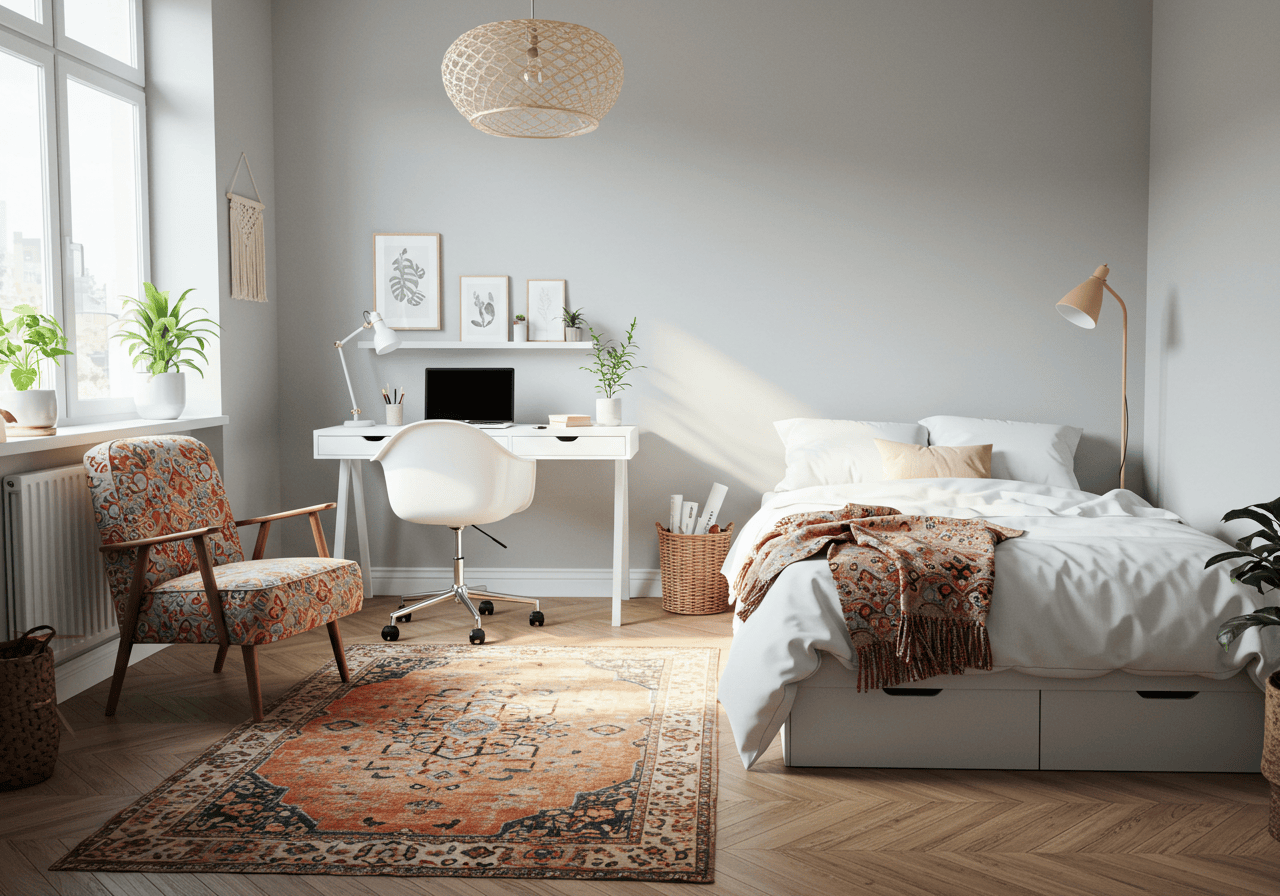
21. Bedroom Headboard Gallery: Intimate Memories
Your bedroom is your sanctuary, and personalizing the wall above your headboard with family photos can make it even more intimate and comforting.
- Symmetrical Balance: For a serene look, opt for a symmetrical arrangement of photos that mirrors the width of your headboard.
- Soft Lighting: Enhance the ambiance with soft, ambient lighting like sconces or bedside lamps that gently illuminate the photos.
- Calming Palette: Consider black and white photos or images with muted tones to maintain a peaceful, restful atmosphere in the bedroom.

There you have it – 21 fantastic ways to transform your walls into a beautiful testament to your family’s story! From grand gallery walls to intimate corner displays, each idea offers a unique opportunity to infuse your home with warmth, personality, and the priceless joy of cherished memories. So go ahead, gather those photos, get creative, and let your walls truly reflect the heart of your home.