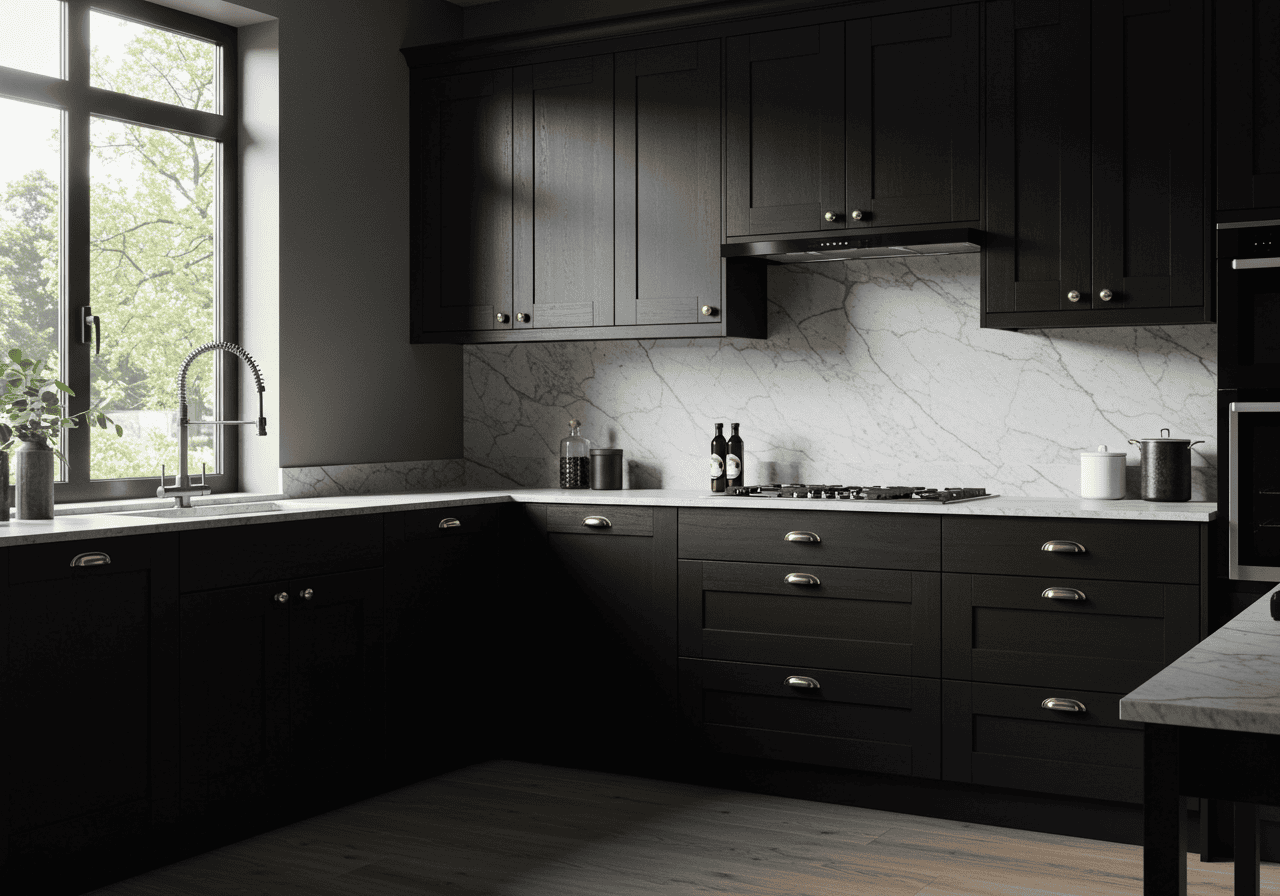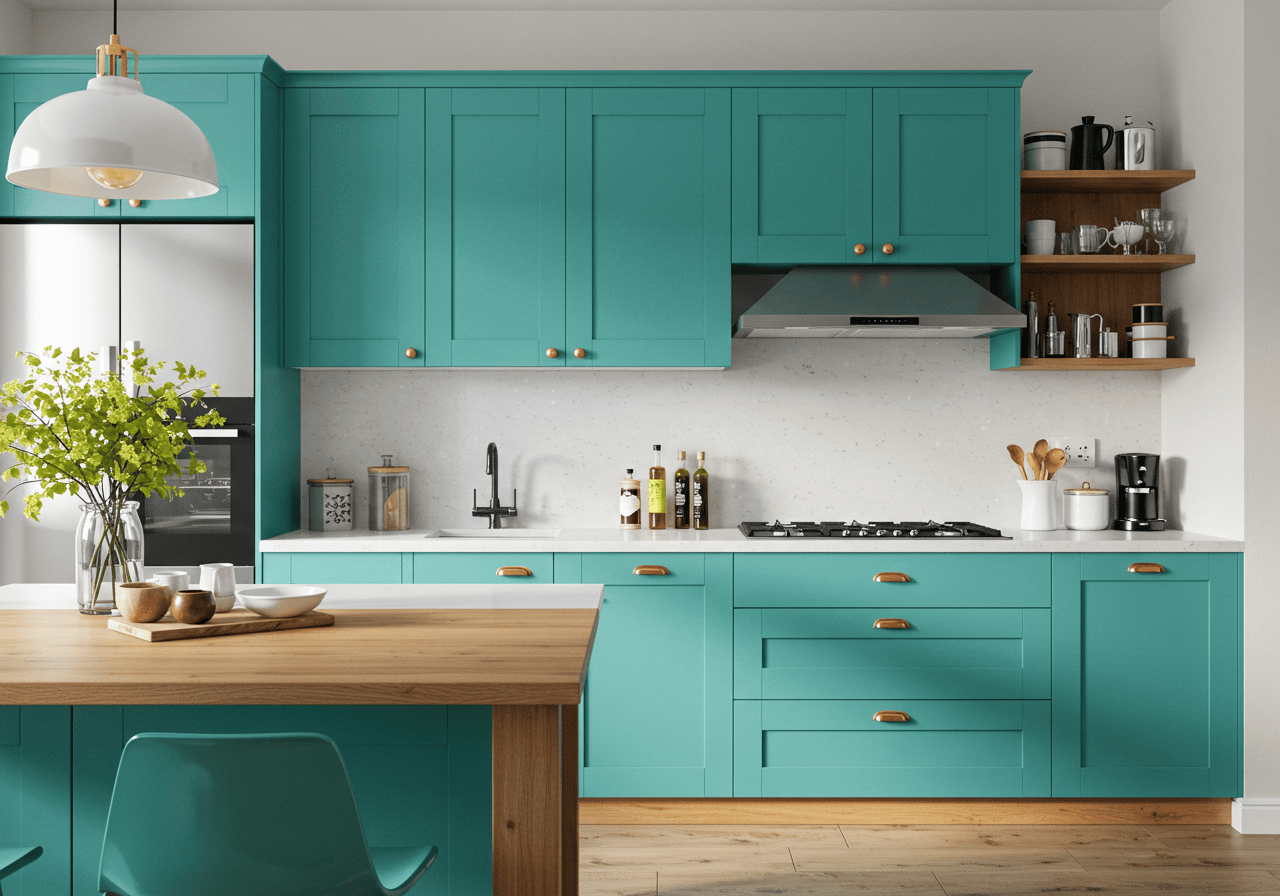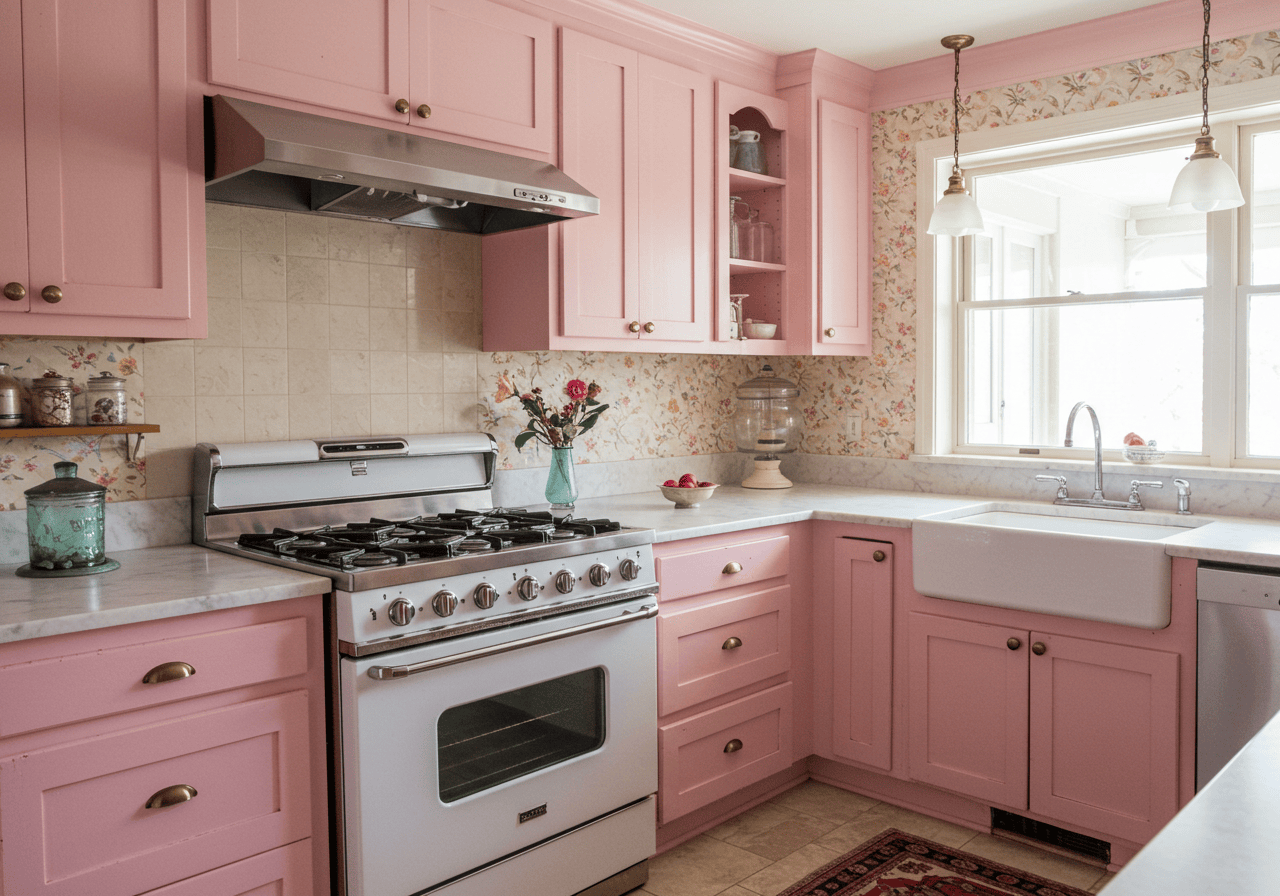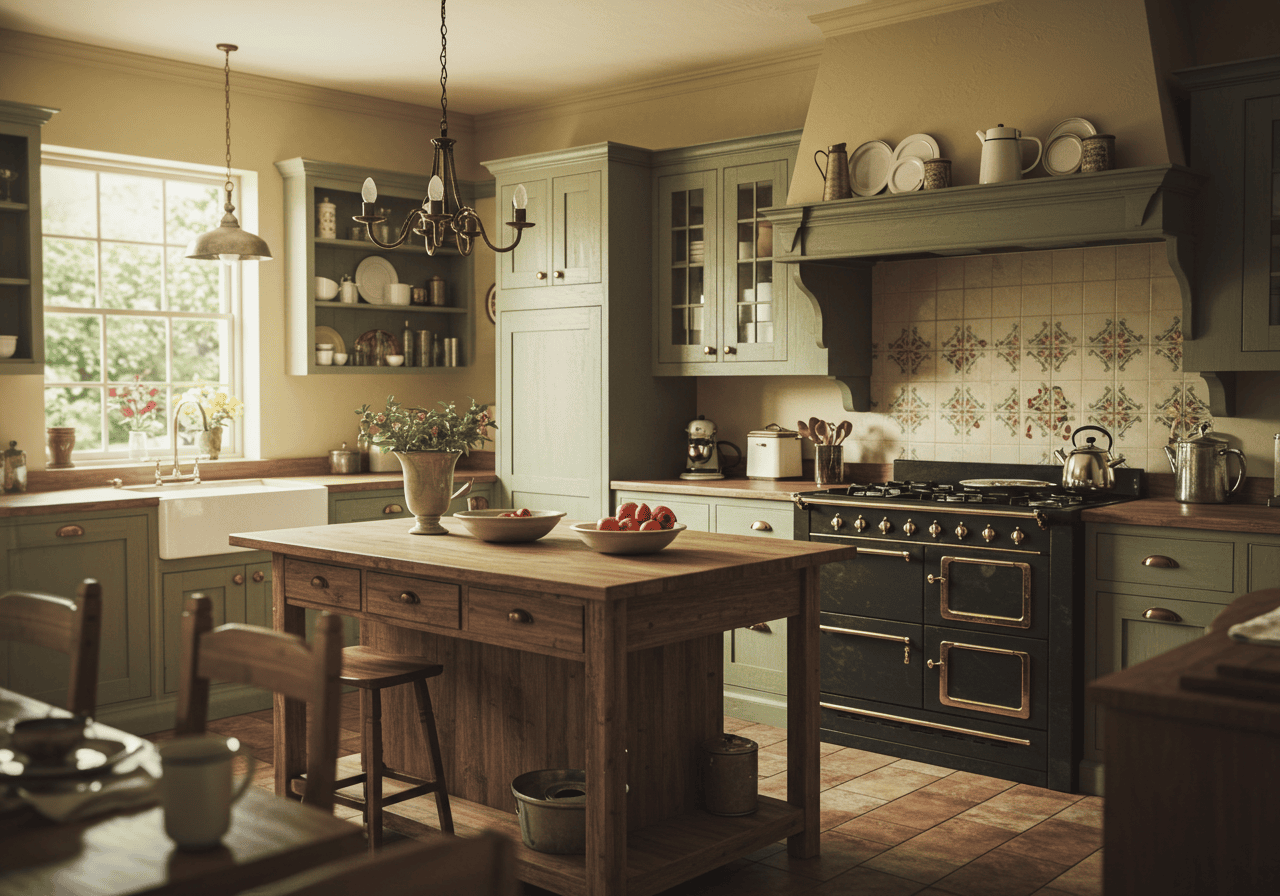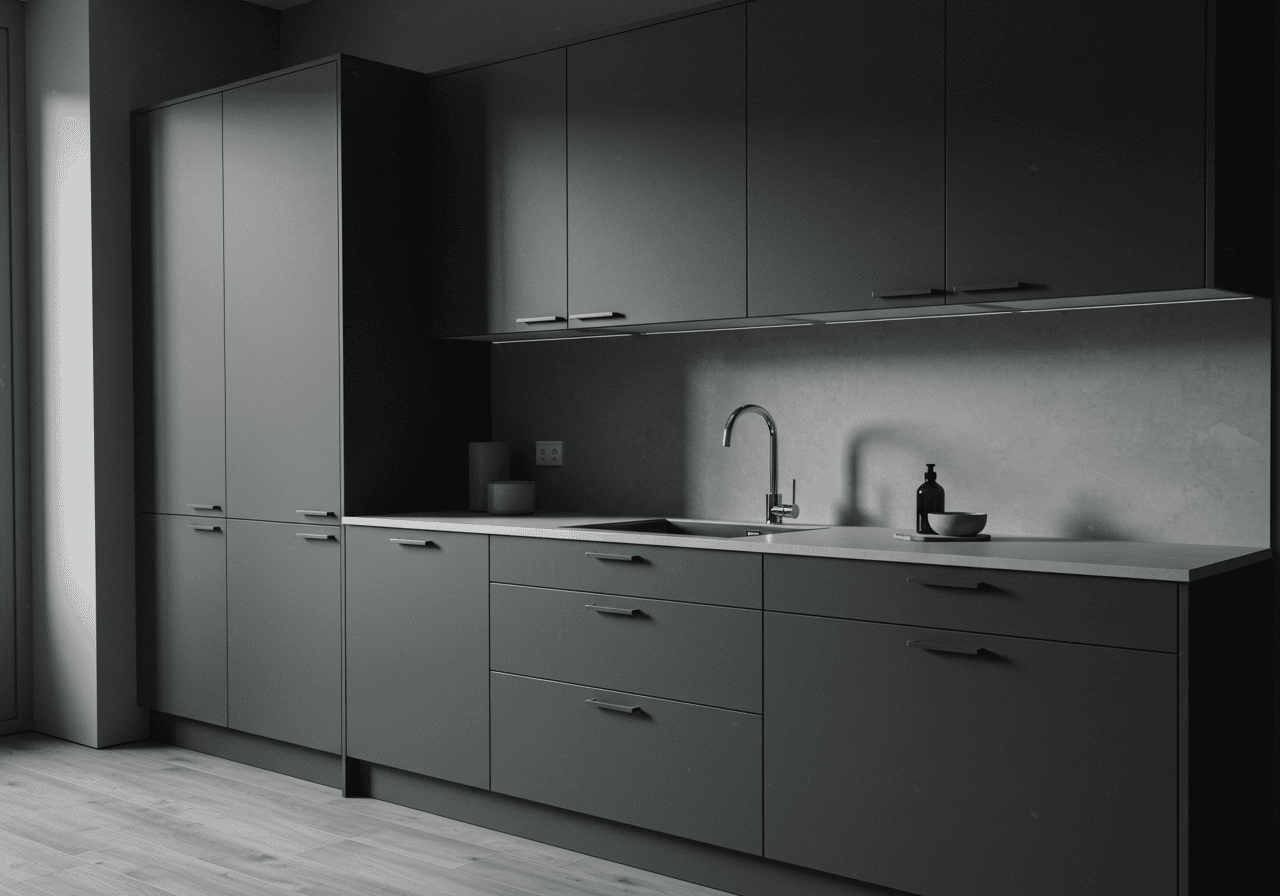
Is your kitchen feeling a little… blah? Do you look at your dark, dated, or just plain boring cabinets and dream of a bright, modern space? You might think a full renovation is the only answer, but we’re here to let you in on an industry secret: the single most transformative, budget-friendly update you can make is to paint your kitchen cabinets.
This isn’t just about slapping on a new color. This is about completely rebooting the heart of your home. A fresh coat of paint can make a small kitchen feel larger, a dark kitchen feel brighter, and an old kitchen feel brand new. It’s a project that requires patience, not professional skills, and the payoff is huge.
By the end of this guide, you’ll have the confidence and the exact, no-fluff steps to take your cabinets from tired to terrific. We’ll walk you through everything, from prep to the final coat, and share the pro tips that guarantee a durable, flawless finish. Let’s get started!
First Things First: Is This Project Right for You?
Honestly, this is a weekend (or two) project that is 90% preparation and 10% painting. It’s perfect for you if:
- You’re looking for a high-impact renovation on a tight budget.
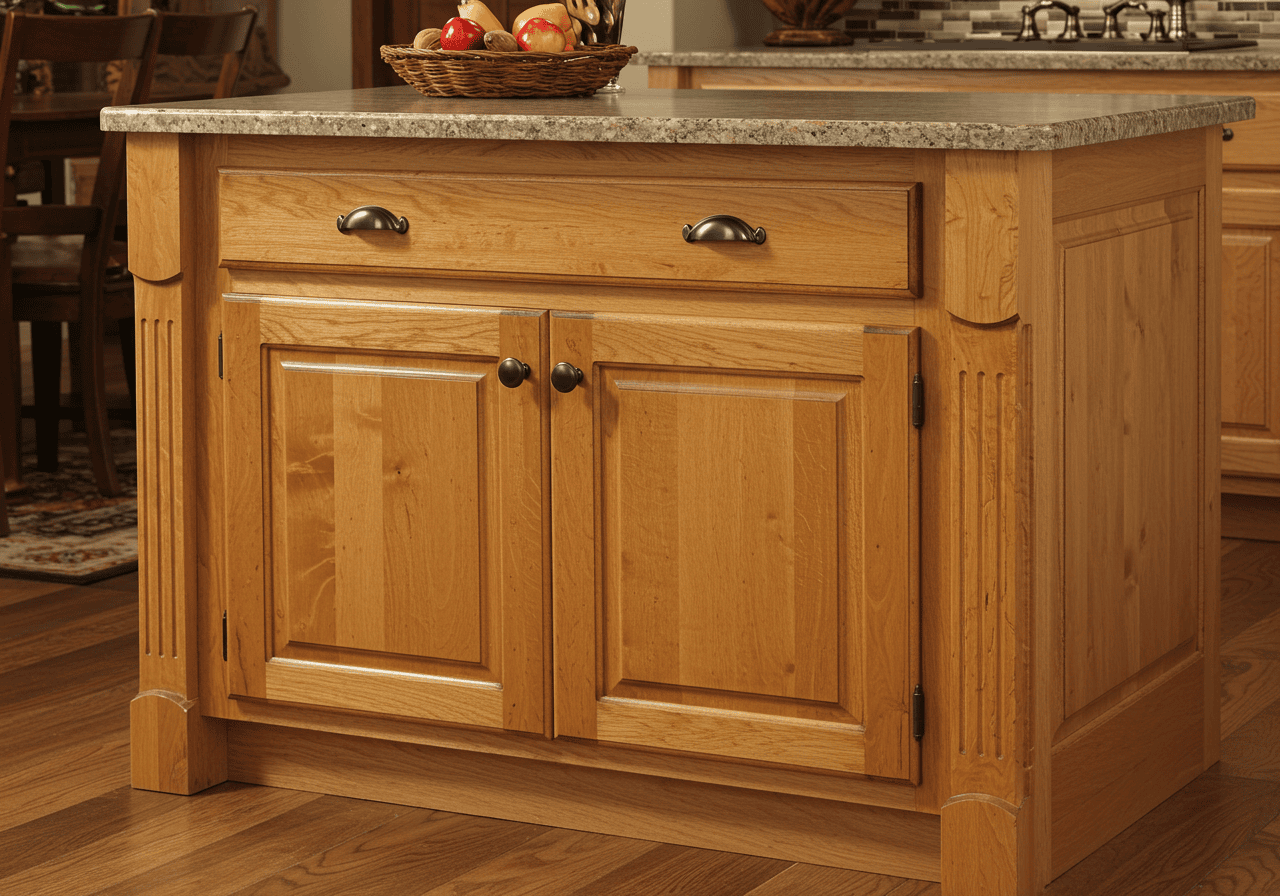
- You have solid wood, MDF, or wood veneer cabinets in decent shape.
- You have patience and an eye for detail.
Can you paint laminate or thermofoil cabinets? Yes, but it requires a special, high-adhesion primer and even more meticulous prep. If your cabinets are peeling, warped, or falling apart, paint will only be a temporary fix.
What You’ll Need: Your Cabinet Transformation Toolkit
Gathering your supplies before you start is the key to a smooth process. Think of it as setting up your command center. You don’t want to be running to the store with half-sanded cabinet doors everywhere!
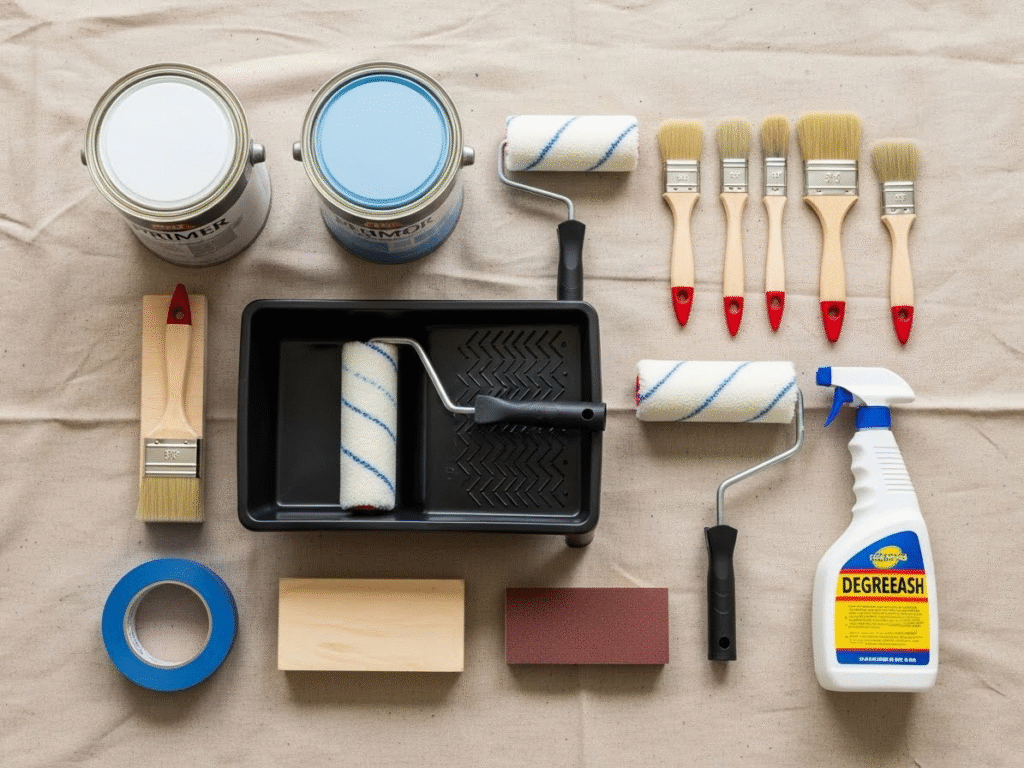
For Cleaning & Disassembly
- Degreaser or TSP (Trisodium Phosphate): Kitchens are greasy! A standard cleaner won’t cut it. A degreaser is non-negotiable for making sure your paint actually sticks.
- Screwdriver or Cordless Drill: To remove all cabinet doors, drawers, and hardware.
- Painter’s Tape & a Permanent Marker: For the single most important organizational hack (we’ll get to that!).
- Ziploc Bags: For keeping all your hinges and screws organized.
- Clean Rags & Sponges: You’ll need plenty for cleaning and wiping.
- Drop Cloths or Plastic Sheeting: To protect your countertops, floors, and appliances.
For Prepping & Sanding
- Sandpaper or Sanding Blocks: A medium grit (120-150) for the initial scuffing and a fine grit (220) to smooth the surface between coats.
- Wood Filler: For patching any nicks, dings, or old hardware holes.
- Tack Cloth: A slightly sticky cloth that is amazing at picking up all the fine dust after sanding.
- High-Quality Primer: Don’t skip this! Primer ensures proper paint adhesion, blocks stains, and helps you achieve a true, rich color. Expert Tip: Get your primer tinted to be a shade lighter than your final paint color. It will help you achieve full coverage with fewer coats of paint.
For Painting
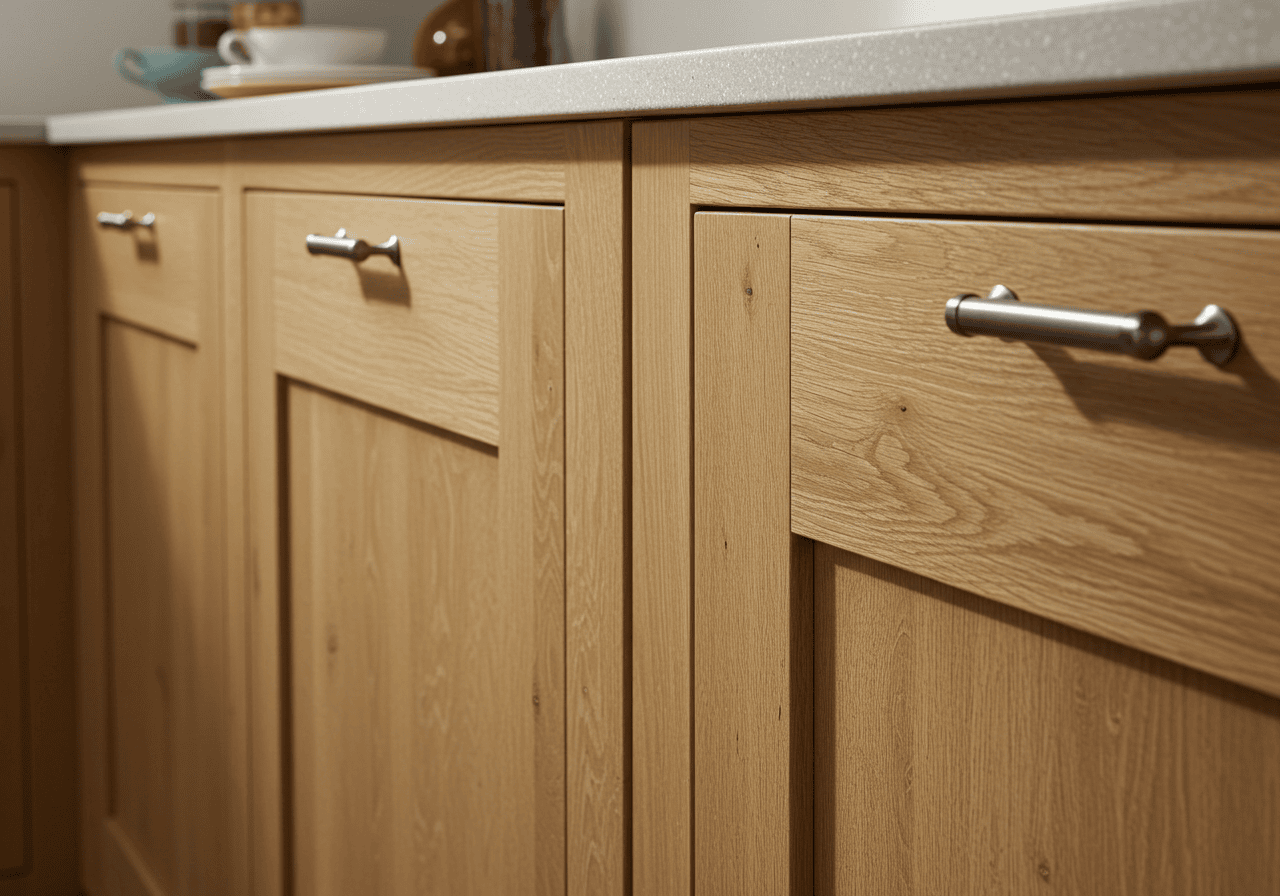
- Cabinet-Specific Paint: This is crucial. Don’t just use regular wall paint! Look for paints labeled for cabinets, trim, and furniture. These are self-leveling (to reduce brush strokes) and cure to a much harder, more durable finish.
- High-Quality Angled Brush: For cutting into corners and detailed areas. A good brush is worth the investment.
- Mini Foam Rollers: These are the secret weapon for a super-smooth, spray-like finish on flat door panels and cabinet frames.
Comparison Table: Choosing Your Paint Finish
The finish you choose affects both the look and durability. Here’s a quick breakdown:
| Finish Type | Sheen Level | Durability & Cleanability | Best For… |
| Satin | Low-Lustre | Good | Hiding minor imperfections. Offers a modern, velvety, and sophisticated look. |
| Semi-Gloss | Noticeable Sheen | Excellent | The most popular choice. It’s highly durable, easy to clean, and reflects light nicely. |
| High-Gloss | Very Shiny | Superior | Creating a bold, dramatic, glam look. Shows every imperfection, so prep must be perfect. |
The Step-by-Step Guide to a Flawless Finish
Ready to transform your kitchen? Let’s break it down into manageable steps. Remember, patience is your best friend here.
Step 1: The Great Kitchen Takedown (Prep is Everything!)
This is the most tedious but also the most critical phase. A great paint job is built on a foundation of great prep work. Rushing this step is the #1 mistake beginners make.
- Empty Your Cabinets: Remove everything. It’s also a great opportunity to declutter!
- Remove Doors and Drawers: Carefully unscrew all hinges from the cabinet frames and remove the doors. Take out the drawers as well.
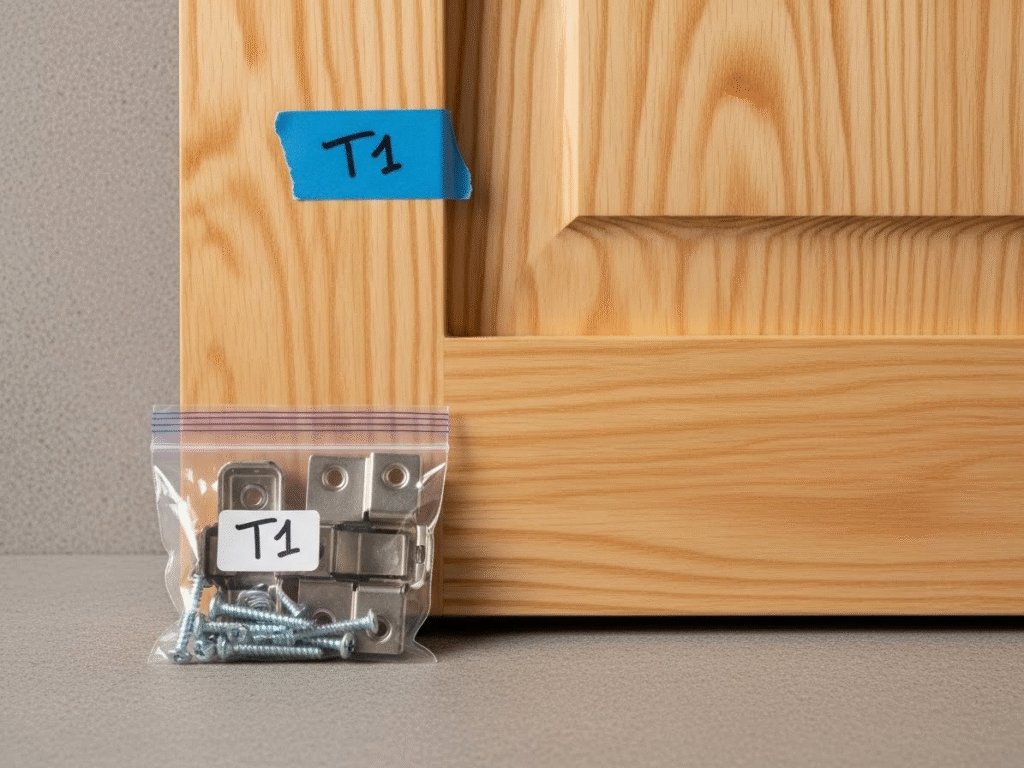
- The Golden Rule of Cabinet Painting: Label Everything! Trust us, this will save your sanity. Your house has settled, and no two doors hang exactly the same. Use painter’s tape to create a simple labeling system.
- Place a piece of tape inside each cabinet opening (e.g., “T1” for the top cabinet, first door) and a corresponding piece of tape on the door you just removed (“T1”).
- Do this for every single door and drawer (“B1” for base cabinet 1, “D2” for drawer 2, etc.).
- Bag the Hardware: Remove all hinges, knobs, and pulls from the doors and drawers. Place the hardware for each door/drawer into a small Ziploc bag and label the bag (e.g., “Hardware for T1”). Keep them all in a safe box.
Step 2: The Deep Clean (Don’t You Dare Skip This!)
Think your cabinets are clean? Think again. Years of airborne cooking oils, grease, and grime have created an invisible film that will repel paint like water off a duck’s back. This step is non-negotiable.
- Mix Your Degreaser: Follow the instructions on your TSP or degreaser concentrate. Wear gloves to protect your hands.
- Scrub Everything: Using a sponge or rag, thoroughly scrub every surface you plan to paint—door fronts, backs, edges, and all the cabinet frames in the kitchen. Pay extra attention to the cabinets around the stove and sink.
- Rinse Thoroughly: After scrubbing, wipe everything down with a separate rag dipped in clean water. You need to remove all the cleaning residue, otherwise, the primer won’t stick properly.
- Let It Dry Completely: Give your cabinets several hours (or even overnight) to dry. Any trapped moisture is an enemy to a lasting paint job.
Expert Tip: Use an old toothbrush dipped in the cleaning solution to get into the grooves of detailed cabinet doors. You’d be shocked at what comes out!
Step 3: Sand, Patch, and Smooth
The goal of sanding isn’t to strip the old finish completely. It’s to scuff up the surface just enough to give the primer something to grip onto. This mechanical “tooth” is the key to adhesion and durability.
- The Scuff-Sanding: Using your medium-grit (120-150) sandpaper or sanding block, lightly sand every surface. You’re done when the original sheen is gone and the surface feels slightly rough and looks dull.
- Fill and Repair: Now is the time to fix any imperfections. Use a putty knife to apply a small amount of wood filler into any nicks, deep scratches, or old hardware holes. Overfill it slightly, as it will shrink as it dries.
- Sand the Filler: Once the filler is completely dry, sand it flush with the surface using your fine-grit (220) sandpaper.
- The Ultimate Dust Removal: This is a two-step process for a dust-free finish. First, use a vacuum with a brush attachment to remove the majority of the sanding dust. Then, go over every single surface with a tack cloth. It will pick up the fine particles you can’t even see.

Step 4: Prime Time! The Foundation for a Pro Finish
Primer is the magic layer. It’s the unsung hero that blocks stains, prevents wood tannins (the oils in wood that can bleed through light-colored paint) from showing, and ensures your expensive paint adheres beautifully and shows its true color.
- Set Up Your Paint Station: Lay your doors flat across sawhorses or painter’s pyramids. This prevents drips and allows you to work comfortably. Start with the backs of the doors facing up.
- Cut In with a Brush: Dip your angled brush into the primer and paint any grooves, details, or inside corners first. This is called “cutting in.”
- Roll the Flat Surfaces: Immediately after cutting in, use a lightly loaded mini foam roller to go over the flat parts of the door and the cabinet frames. Use light, overlapping strokes in one direction. The foam roller is the key to a smooth, non-streaky finish.
- Let It Dry: Check the can for the recommended drying time. Don’t rush it!
- The Silky-Smooth Secret: Once the primer is fully dry, give it a very light once-over with your fine-grit (220) sandpaper. This will feel counterintuitive, but it knocks down any tiny bumps or raised grain, making the surface feel like silk.
- Wipe It Clean: Use a fresh tack cloth to wipe away the fine dust from your light sanding. You are now ready for paint!
Step 5: Let’s Paint! The Transformation Unfolds
Finally, the moment you’ve been waiting for! All that prep is about to pay off. Remember the golden rule of painting: two thin coats are always better than one thick coat.
- First Coat Application: Using the same brush-then-roller technique you used for the primer, apply your first thin, even coat of cabinet paint. Start with the backs of the doors. On the cabinet frames, start with the inside edges and work your way out.
- Why this order? You’ll finish the fronts of the doors last, which are the most visible part. This gives you the most practice before tackling the most important surfaces.
- Don’t Overwork It: Apply the paint and move on. Good quality cabinet paint is designed to self-level, meaning it will smooth itself out as it dries. Constantly going back over it will create brush marks and texture.
- Patience is a Virtue (Wait for the Recoat): This is where people get impatient. You must let the first coat dry completely according to the manufacturer’s instructions (usually 4-6 hours, but check the can). If you paint the second coat too soon, the paint will peel and get gummy.
- Apply the Second Coat: Once the first coat is fully cured, apply your second and final coat using the same technique. It should glide on beautifully and provide full, rich coverage.
Interior Design Tip: The 60-30-10 Rule
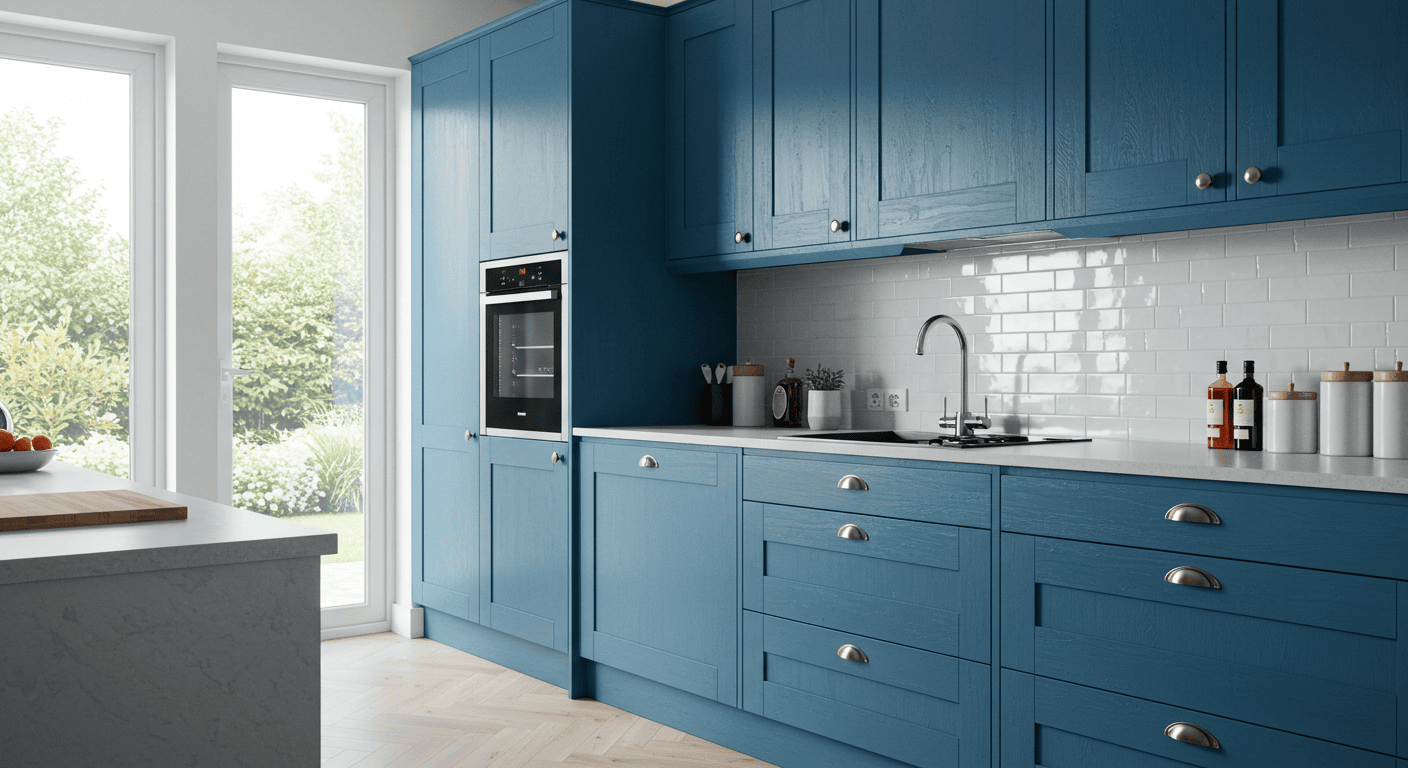
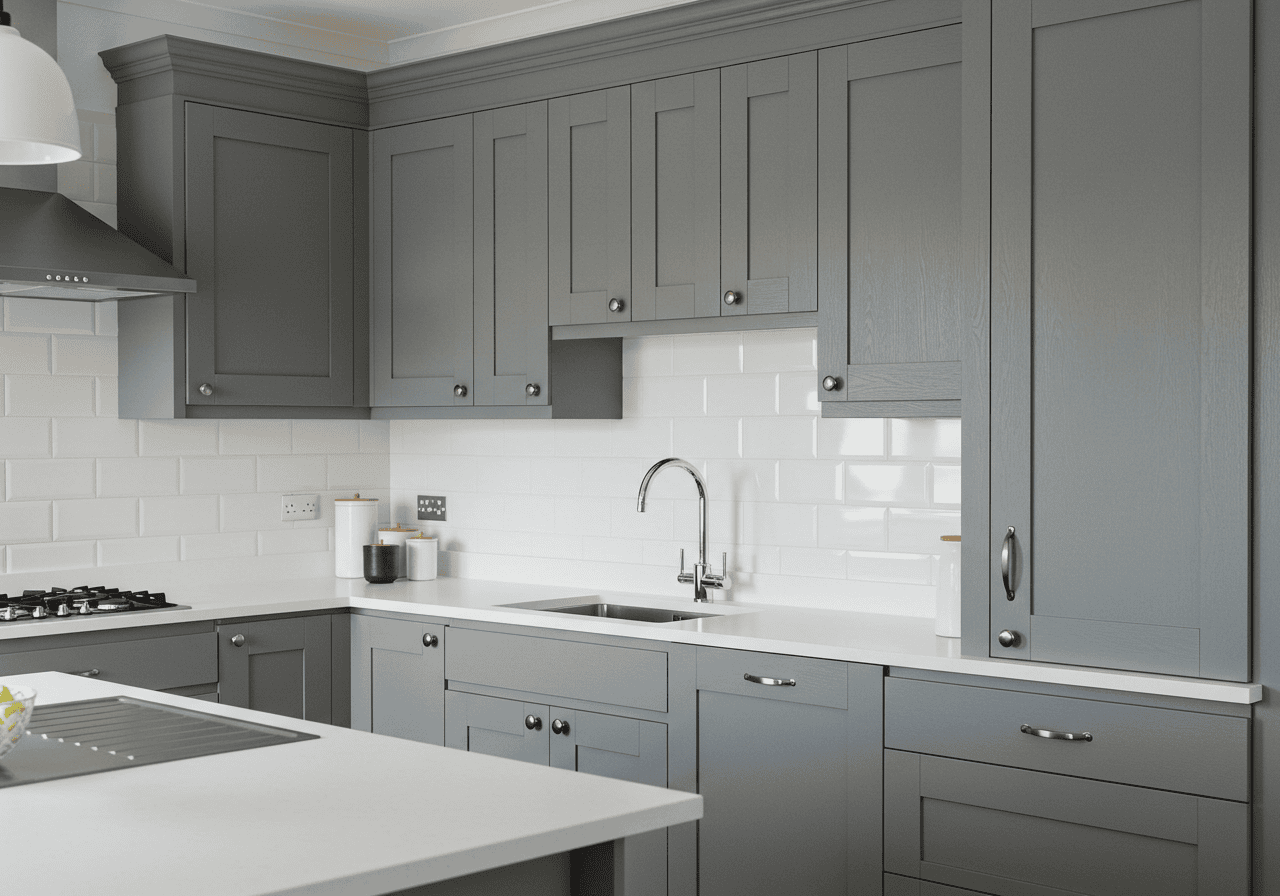
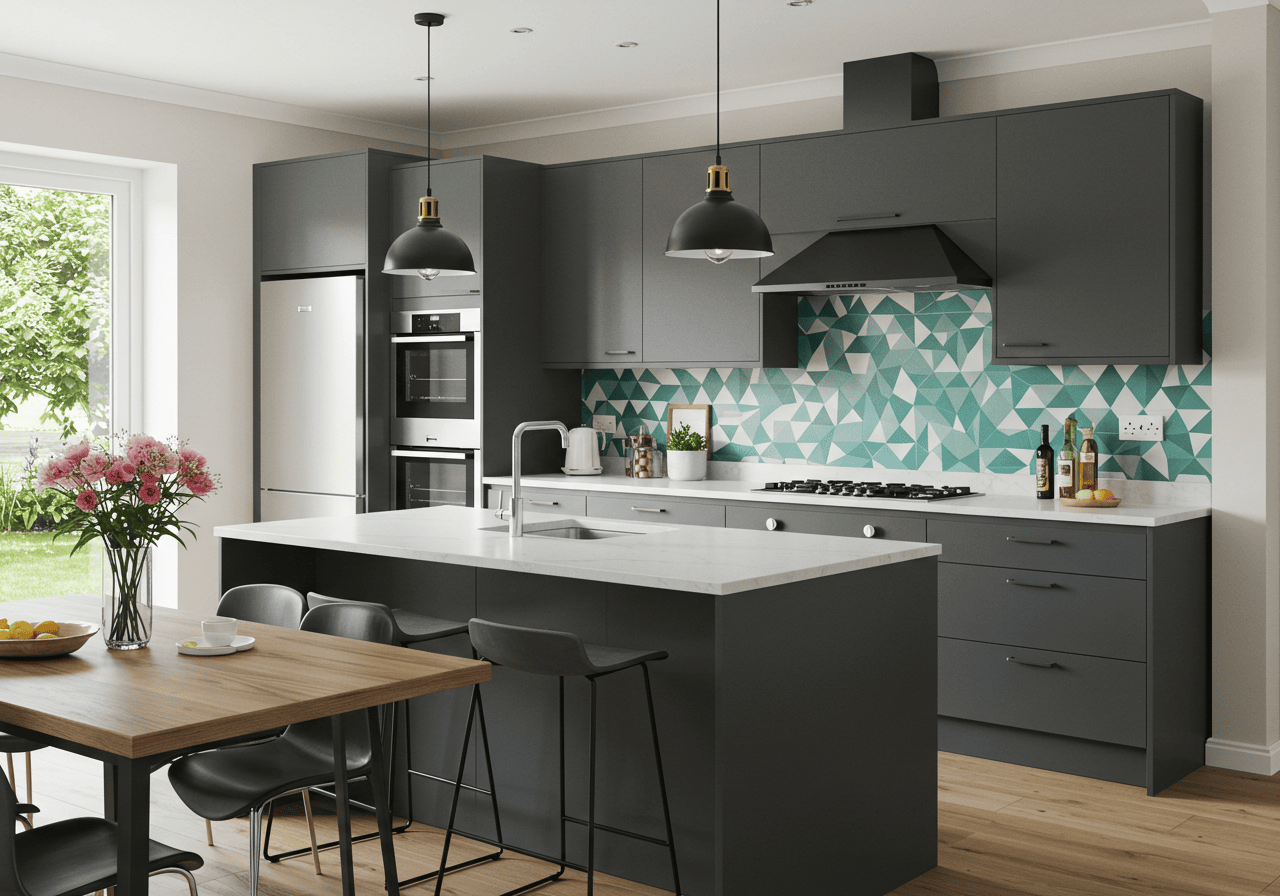
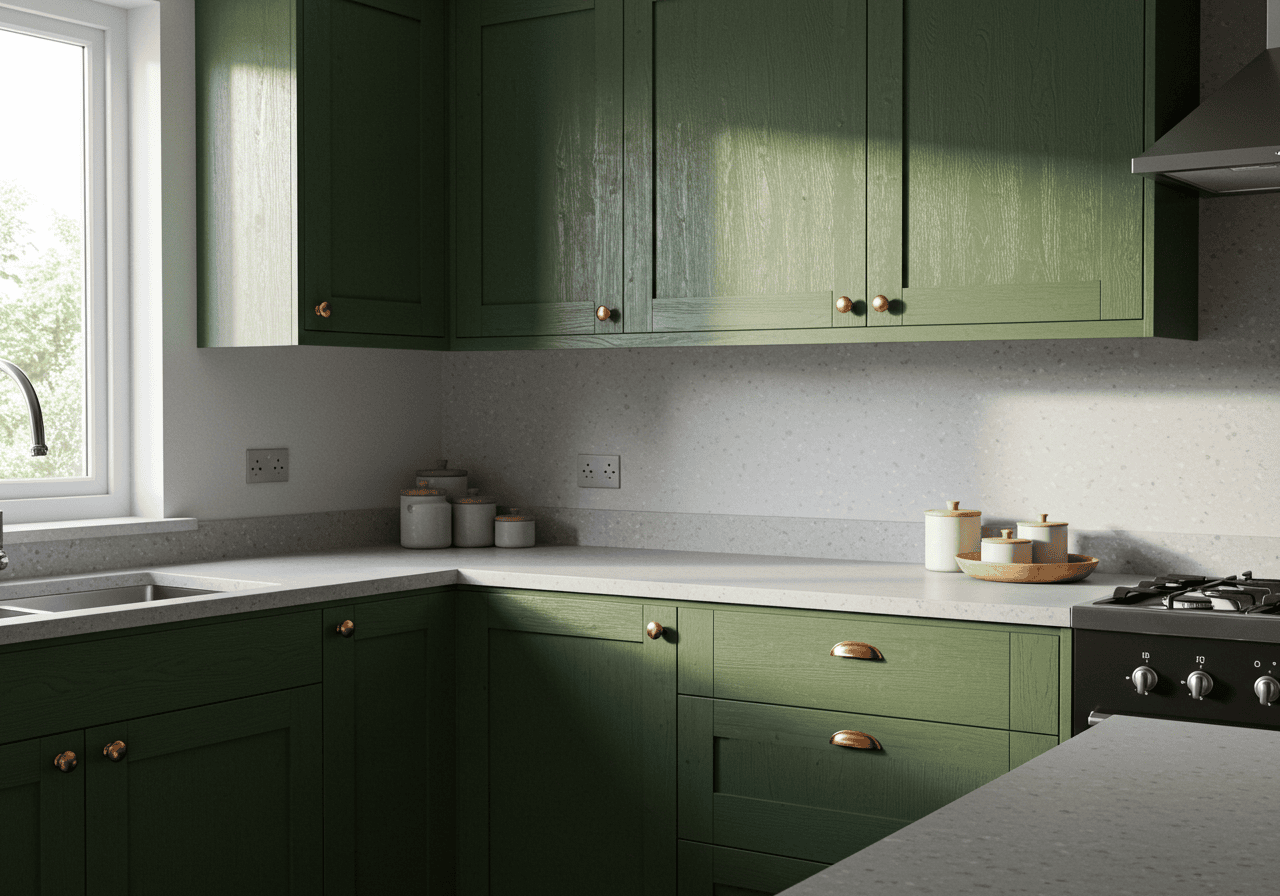
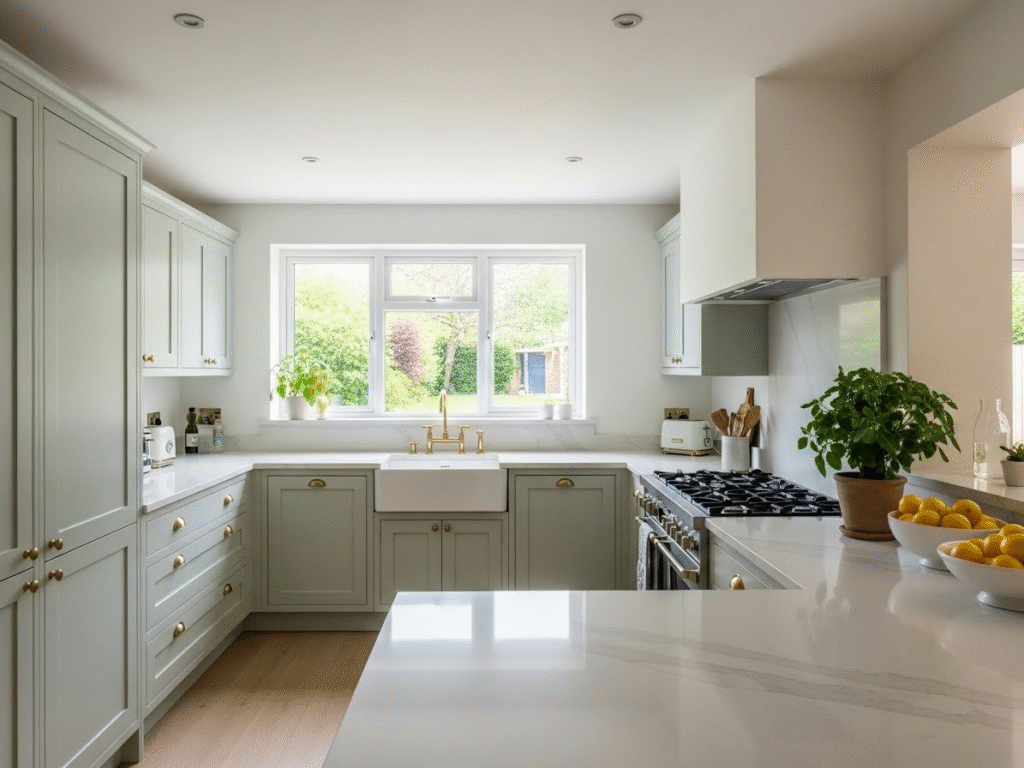
As you choose colors, keep this classic design rule in mind. Your cabinets will likely be your 60% (the dominant color in the room). Your countertops or backsplash could be your 30% (a secondary color). Your hardware, lighting, and small decor items will be your 10% (the accent). This creates a balanced and professional-looking palette. For example: 60% soft gray cabinets, 30% white quartz countertops, 10% matte black hardware and faucet.
Options for Every Home and Budget
Not everyone can follow the exact same process. Here are some smart variations.
Small Space Solutions
If you don’t have a garage or workshop to lay out doors, you can still do this project!
- Hang-Drying Method: Screw small eye-hooks into the top or bottom edges of the doors (in a spot that won’t be visible later). You can then hang the doors from a clothes-drying rack or a tension rod in a spare room to paint and dry them vertically, saving a ton of space.
Rental-Friendly & Budget Alternatives
Can’t permanently paint your cabinets? You still have options for a fresh new look.
| Option | Cost | Difficulty | Reversibility | Pro Tip |
| Peel-and-Stick Vinyl | Low-Med | Easy | 100% | Use a hairdryer to warm the vinyl as you apply it around corners for a seamless look. |
| Contact Paper | Low | Easy | 100% | Best for flat-front cabinets. The quality has improved immensely in recent years! |
| Change Hardware Only | Low | Very Easy | 100% | A surprisingly effective update! Just be sure to measure the distance between screw holes on your existing pulls. |
Step 6: Curing, Reassembly, and the Big Reveal
This final step requires one last dose of patience. Paint dries to the touch in a few hours, but it takes days—or even weeks—to fully cure. Curing is the chemical process where the paint hardens into its final, durable shell.
- Give It Time: Let your doors and drawers cure for at least 48-72 hours before you even think about reassembling them. If you can wait longer, even better. Handling them too early can lead to dents, smudges, and nicks that are difficult to fix.
- Reattach Hardware: Gently reattach your shiny new (or newly cleaned) hinges, knobs, and pulls to the doors.
- Rehang Your Doors: Remember that handy labeling system? Now it pays off. Using your cordless drill on a low-torque setting, carefully rehang door “T1” in opening “T1,” and so on. This ensures a perfect fit without having to make a dozen hinge adjustments.
- Install Bumpers: Add small, clear rubber or felt bumpers to the inside corners of your doors and drawers. This prevents the freshly painted surfaces from sticking or chipping when closed.
- Step Back and Admire! You did it. You’ve completely transformed the look and feel of your kitchen with your own two hands. It’s a huge accomplishment!
Common Mistakes to Avoid (and How to Fix Them)
Even with the best instructions, hiccups can happen. Here’s what to look out for.
| Mistake | Why It Happens | How to Fix It / Avoid It |
| Drips and Runs | Applying the paint too heavily or not catching drips while the paint is still wet. | Avoid: Use thin coats. Fix: If wet, brush it out immediately. If dry, sand the drip smooth with 220-grit paper, wipe clean, and touch up with a thin coat of paint. |
| Brush Strokes or Roller Marks | Using a cheap brush/roller, overworking the paint, or pressing too hard. | Avoid: Use a high-quality angled brush and a mini foam roller. Let the self-leveling paint do its job. Fix: Let it dry completely, lightly sand the area smooth, and re-coat. |
| Peeling or Chipping Paint | The #1 cause is improper prep! Skipped degreasing, poor sanding, or no primer. | Avoid: Follow the prep steps religiously! Fix: This is tough. You’ll need to sand the affected area down to the raw wood, feathering the edges, then prime and repaint. |
| Fuzzy or Gritty Finish | Painting in a dusty environment or not cleaning thoroughly after sanding. | Avoid: Vacuum and use a tack cloth before priming and between coats. Fix: Lightly sand the entire surface with 220-grit paper, wipe with a tack cloth, and apply a final, thin topcoat. |
Frequently Asked Questions (FAQs)
1. How long does this whole project take?
Be realistic. For an average-sized kitchen, plan for at least 4-5 days. This includes a full day for disassembly and prep, a day for priming, a day for two coats of paint, and at least a day or two for curing before you reassemble everything. Don’t try to cram it into a single weekend!
2. Should I paint the insides of my cabinets?
It’s optional. Painting the insides is a lot of extra work. Most pros only paint the inside of the face frame (the first inch or two). If your cabinet interiors are in good shape, just give them a good cleaning or line them with fresh shelf paper. The exception is glass-front cabinets—you should definitely paint the interior of those.
3. What’s better: rolling or spraying?
For a beginner, rolling and brushing is the way to go. A high-quality mini foam roller can give you a near-perfect, spray-like finish without the massive learning curve and prep work of a paint sprayer (which involves taping off your entire kitchen).
4. Can I just paint over my old hardware?
Please don’t! It instantly makes the job look cheap and unprofessional. The paint will quickly chip off the high-contact surfaces of knobs and pulls, and it will be impossible to clean them properly. Always remove hardware.
5. What is the most durable type of paint for kitchen cabinets?
Look for paints specifically formulated for cabinets and trim. Alkyd urethane enamel paints (often water-based for easy cleanup) are fantastic. They combine the smooth, hard finish of traditional oil-based paints with the low VOCs and easy application of water-based formulas. Brands like Benjamin Moore ADVANCE or Sherwin-Williams Emerald Urethane Trim Enamel are industry favorites.
Your Quick Summary Checklist
Feeling overwhelmed? Pin this list to your fridge and check things off as you go.
☐ Plan: Choose your color and finish.
☐ Buy Supplies: Get everything on the list before you start.
☐ Disassemble: Empty cabinets, remove doors/drawers, and take off hardware.
☐ Label Everything: Doors, drawers, and hardware bags. Don’t skip this!
☐ Protect Your Space: Lay down drop cloths and tape off walls.
☐ Deep Clean & Degrease: Scrub every surface to be painted. Let dry.
☐ Sand & Repair: Scuff-sand all surfaces and fill any nicks.
☐ Dust Removal: Vacuum, then wipe everything with a tack cloth.
☐ Prime: Apply one coat of high-quality primer.
☐ Light Sand & Tack Cloth: Smooth the primed surface for a flawless base.
☐ First Coat of Paint: Apply a thin, even coat. Let it dry completely.
☐ Second Coat of Paint: Apply the final coat for full coverage.
☐ Cure: Wait at least 48-72 hours. Be patient!
☐ Reassemble: Re-install hardware and hang your beautiful “new” doors.
☐ Celebrate: Make your favorite drink and toast to your brand-new kitchen